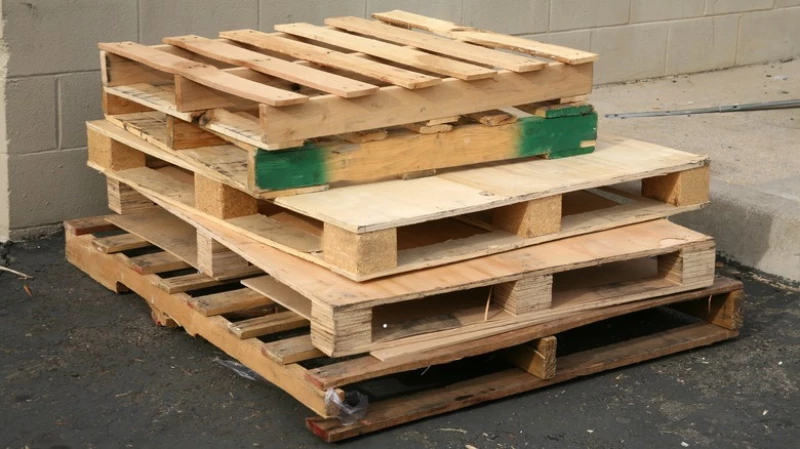
Looking to add some greenery to your space? Consider transforming a wooden pallet into a unique planter for your garden. Instead of simply attaching the pallet to the wall or laying it on the ground, you can repurpose it by creating a trough or raised bed-style planter.
While the traditional pallet planters may seem convenient, they come with downsides such as keeping the soil in place and providing enough drainage for your plants. By putting in some effort to saw, pry, and drill the pallet, you can customize it to better suit your gardening needs.
Vertical- or ground-based pallet planters face a significant challenge due to erosion issues. The wide gaps between the planks allow soil to wash or crumble out, necessitating frequent replacements. Moreover, the limited height of a standard pallet, approximately 4.5 inches, results in rapid soil drying, requiring constant watering. In regions with high humidity, the pallet wood may deteriorate and develop mold over time. While building a planter from a pallet can be cost-effective, the need for regular maintenance or potential replacement makes it less than ideal. However, with some modifications, the pallet can be repurposed into a more functional gardening solution.
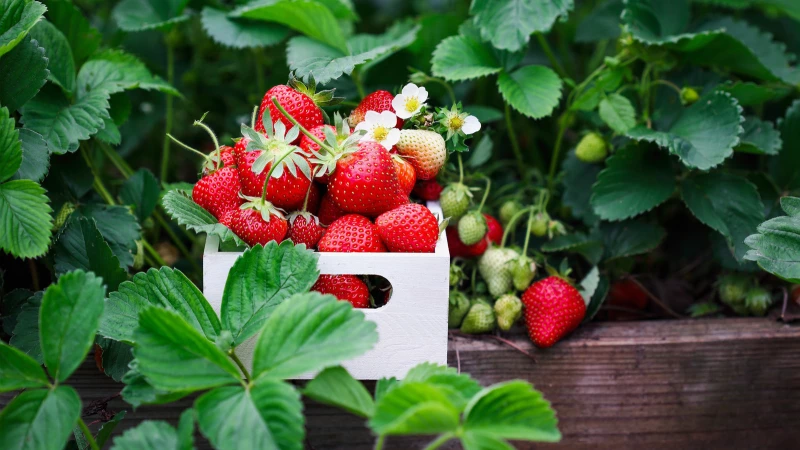
Construct your new strawberry planter
You'll need a few more materials and tools, including a carpenter's pencil, a wood saw (hand-controlled or powered), long nails or screws (in two sizes: 1.5 inches and 3 inches), a drill for the screws or a hammer for the nails, and a chisel and rubber mallet. Protect your eyes and hands with gloves and goggles.
Lay the pallet flat on the ground. Divide the planter into three even sections vertically, marking the divisions on the wood with a carpenter's pencil, front and back. Cut along the marks using your saw. You'll end up with three pieces — two that match and one that doesn't. Use your chisel and mallet to pry the blocks and wood off the latter, giving you a flat set of planks and some blocks. This will form the base and feet of your planter. Trim any overhanging wood on the other pieces. Attach them to the other part using screws or nails, close off the ends of the planter using the loose planks, and attach the block feet to the base.
If you want to give your new planter a unique look, consider leaving the wood bare or adding a pop of color with some non-toxic outdoor spray paint. Make sure to sand the wood first to protect it from the elements. To prepare the planter for planting, line the sides with metal poultry netting, root cloth, landscape liner, or even trash bags. Once lined, fill it with potting mix or compost and get ready to plant those strawberries!

