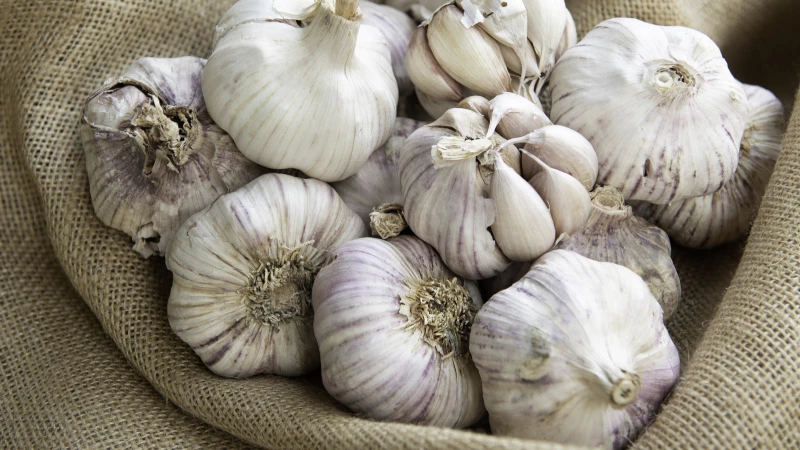
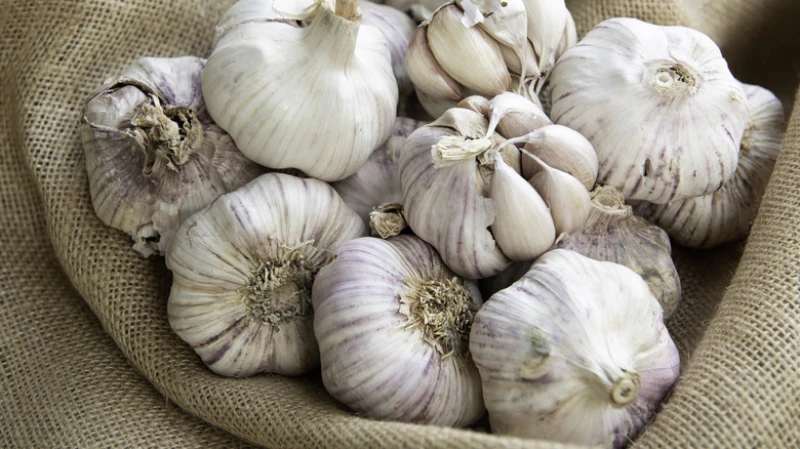
Are you a fan of the delightful aroma of minced garlic in your stir fry? Have you ever wished for a never-ending supply of it? Garlic, known for its aromatic flavor and health benefits, is a staple in kitchens worldwide. And now, you can have a constant source of fresh garlic right at your fingertips. The best part? You can achieve this by growing garlic in repurposed plastic water bottles before transplanting them into the soil.
Yes, you read that right. Those empty water bottles that usually end up in the trash can actually serve as a fantastic, eco-friendly way to kickstart the growth of healthy garlic roots before planting. In this article, we will explore this simple yet effective method of cultivating garlic. By following these steps, you can ensure a steady supply of this versatile herb without much effort. So, let's dive into the fascinating world of garlic cultivation and uncover the secrets of growing it using common household items.
Rooting garlic in water
Planting and Caring for Garlic
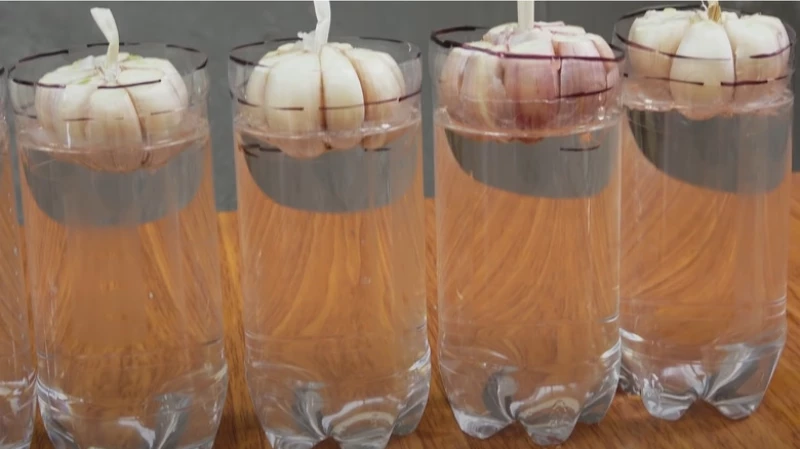
To begin your journey of growing garlic, gather empty or used plastic water bottles. Cut the bottles at the point where the tapered section ends (known as the shoulder) and the body begins. Insert the shoulder section into the body upside-down, creating makeshift containers for rooting your garlic. Fill the bottles with enough water to slightly submerge the lower end of the garlic bulbs.
Remove the outermost peel or clove skin, leaving only the innermost peel intact. Be sure to keep the short stalk attached. Using a sanitized cutter, slice off a small part of the upper section of each garlic clove, taking care to keep it connected to the rest of the bulb. Place the individual garlic bulbs, with the stalk pointing up, in each bottle.
This method acts as a precursor to planting garlic in soil, allowing the cloves to develop strong roots in just a few days. Glass jars or cups can also be used instead of water bottles, as long as the lower portion of the bulbs or cloves is submerged. After a few days, you will notice sturdy roots emerging from the cloves. Remove the rooted bulbs from the water and gently separate the cloves, each with their own roots, ready for planting in soil.
Keep in mind that changing the water regularly is important to ensure proper rooting and prevent the growth of harmful microbes.
Once you're done with the rooting process, you can now transplant the rooted garlic cloves into well-draining soil. According to the Garlic Store, it's best to choose a loose, loamy soil enriched with organic matter. Ensure each clove is planted about three inches deep and spaced six inches apart. Garlic prefers full sunlight, so select a sunny spot in your garden for a thriving crop.
Water your garlic plants consistently, ensuring the soil is moist but never waterlogged. Mulch around the plants to retain moisture and suppress weeds. Fertilize sparingly, as garlic requires minimal feeding. Keep a watchful eye for pests, particularly downy mildew and nematodes, which can harm garlic. Introduce beneficial insects like ladybugs to control pest populations naturally. If you want bigger garlic bulbs, make sure you cut growing garlic scapes (and cook them, yum!). This way, the plant nutrients will go to the bulbs, and you can have a hearty harvest.
By following these steps and tips, you'll soon enjoy the fruits (or bulbs) of your labor, reveling in the satisfaction of repurposing plastic and cultivating your own perpetual garlic supply. Happy gardening!